Hey folks! There’s nothing like the thrill of cooking your own meal over an open campfire, am I right?
But hold your s’mores! Safety comes first, especially when it comes to handling food in the great outdoors.
Did you know that some nasty bacteria love to party in your food if you’re not careful?
Yeah, no one wants to spend their camping trip in a “tummy turmoil,” so let’s get our food safety game strong.
Today, we’re diving into some life-saving tips to keep your campfire cooking not just tasty but also safe and sound.
Ready to become a campfire chef who knows their stuff?
Trust me; it’s gonna be fun and enlightening!
Understanding the Basics of Food Safety
Alright, let’s start with the basics. Food safety might sound boring, but it’s the backbone of any good meal, especially when you’re out and about. Think of it as the unsung hero of your camping adventures, keeping everyone healthy and happy.
The Four Core Principles
When it comes to food safety, there are four musketeers you gotta know: Clean, Separate, Cook, and Chill. These principles are simple but crucial, my friends.
- Clean: Wash those hands, utensils, and surfaces like a pro. Carry a small bottle of hand sanitizer for those times when water is scarce.
- Separate: Cross-contamination is a big no-no! Don’t let your raw chicken touch your ready-to-eat salads. Use different utensils and plates for raw and cooked foods.
- Cook: Undercooked food is like an open invitation for bacteria. Use a food thermometer to make sure your meat is cooked to the right temperature.
- Chill: Store perishables in a cooler with ice packs. The colder, the better to keep those sneaky bacteria at bay.
So, whenever you’re cooking by the campfire, channel your inner musketeer and keep these principles in mind.
The Food Temperature Danger Zone
This might sound like a sci-fi movie title, but it’s serious business. The Food Temperature Danger Zone is between 40°F and 140°F (4°C and 60°C), a range where bacteria grow like wildfire. Trust me, you want to avoid this zone like a crowded mall on Black Friday.
- Cold Foods: Store them at or below 40°F. Most coolers, when packed well, can do the job. Just don’t leave that cooler lid open, okay?
- Hot Foods: Keep ’em hot, above 140°F, until you’re ready to feast. If you’re cooking a stew or soup, keep it simmering on the fire or stove.
- Timing: Don’t leave perishable foods in the danger zone for more than 2 hours, or 1 hour if it’s hotter than 90°F outside.
Remember, bacteria don’t take vacations. They’re always ready to crash your food party. But now you know their weaknesses! I always make sure to bring my campfire cooking kit whenever I head into the great outdoors to enjoy delicious meals under the open sky.
Prepping the Food at Home
Before you hit the road, some prep work in your home kitchen can be a game-changer. I mean, who wants to be chopping onions or marinating chicken with a pocket knife in the wild, right? Let’s get you set up for success from the get-go.
Pre-Marinating and Pre-Cooking
Okay, raise your hand if you love flavorful food. Yep, me too. That’s where pre-marinating comes in. Soak that meat or tofu in your favorite marinade a day before your trip. Lock in those flavors, baby!
Pros:
- Time-saver: Once you get to your campsite, your food is all set for the grill or fire.
- Enhanced Flavor: The longer it marinates, the better it tastes.
Cons:
- Risky Business: If not stored correctly, pre-marinated foods can be a breeding ground for bacteria.
- Cooler Space: Marinades often require extra cooler space, which might be at a premium.
As for pre-cooking, it’s a mixed bag.
Pros:
- Quick Meals: Pre-cooked foods only need reheating, making mealtime snappy.
- Safety: Partially cooking food can kill off some surface-level bacteria.
Cons:
- Overcooking: You run the risk of overcooking the food when you heat it a second time.
- Dry or Soggy: Pre-cooked foods can lose texture.
So, when should you pre-marinate or pre-cook? If you’ve got a short trip and a cooler to spare, go for it. Just be extra cautious about maintaining the right temperatures.
Portioning and Storing
Planning is your best friend here. Do the math. How many meals will you have? How many people are you feeding? Portion your meals accordingly, and you’ll avoid waste and save cooler space.
- Individual Bags: Portion foods into individual serving sizes. It makes life easier when you’re out there.
- Label Everything: Trust me, all ziplock bags look the same after a day or two. Labels save you from guessing games.
- Tight Sealing: Air is the enemy. Use airtight containers or vacuum-sealed bags to keep food fresh.
Also learn: How to Use a Fire Extinguisher on a Campfire
Packing Food for the Trip
So you’ve prepped like a boss. Now what? It’s packing time! And trust me, how you pack can make or break your food safety game.
Choosing the Right Containers
Your choice of food storage containers is kinda like choosing hiking boots. You need something durable and reliable. Here’s a rundown:
- Plastic Containers: Lightweight and versatile, but make sure they’re BPA-free.
- Glass Containers: They’re heavy but don’t absorb odors or colors. Just wrap them well to avoid breakage.
- Vacuum-Sealed Bags: Great for saving space and keeping air out.
Importance of Ice Packs
Ice packs are like your cooler’s VIP guests. Invite plenty of them.
- Max Coverage: Place ice packs on the bottom, sides, and top of the cooler for max coldness.
- Pre-Freeze: Pop them in the freezer a day before the trip to get them extra cold.
- Alternate: Use frozen water bottles as a backup. They melt slower and you can drink them later.
Don’t underestimate these chilly heroes. They work tirelessly to keep your food out of the danger zone, and that’s something we can all raise a toast to!
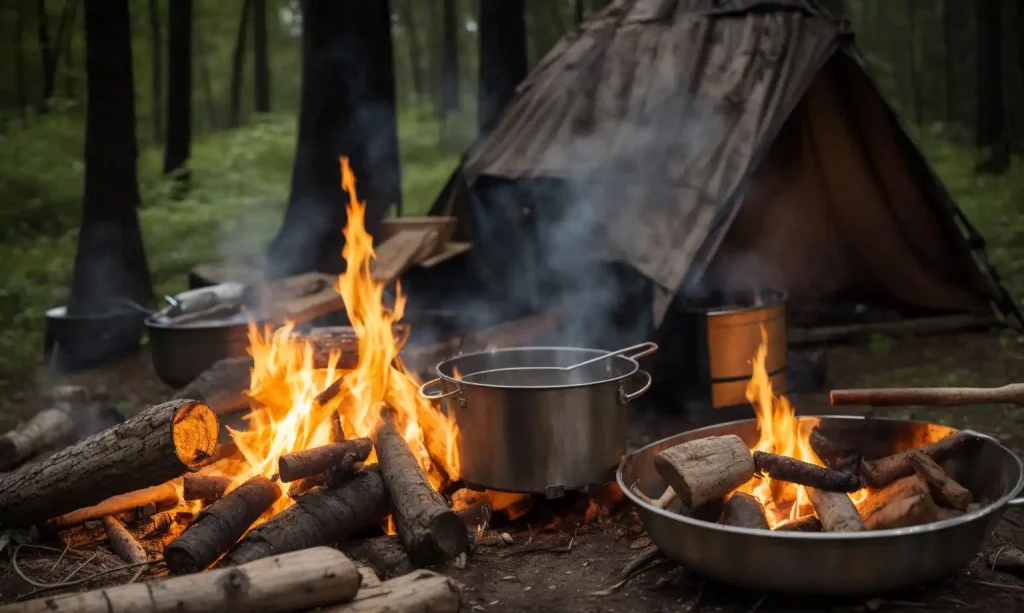
Setting Up Your Campfire Cooking Station
Alright, folks! You’ve prepped your food, packed it like a pro, and now you’re at your campsite. You can almost smell the sizzling bacon and hear the crackling fire. But hold your horses! Before you dive into culinary bliss, let’s set up a safe and efficient campfire cooking station.
Choose a Safe Cooking Spot
I can’t stress this enough: Location, location, location! Here’s what you should keep in mind:
- Away from Flammables: Pick a spot at least 15 feet away from tent walls, shrubs, and other things that, well, shouldn’t catch fire.
- Level Ground: Trust me, you don’t want your stew spilling over because you set up on a slope.
- Wind Direction: Keep note of the wind. You don’t want smoke blowing into your tent or a sudden gust turning your campfire into a wildfire.
- Fire Ring or Pit: If it’s available, always use designated fire rings or pits. They’re built to contain fires safely.
Campfire Cooking Gear
Now, let’s talk gear. Because let’s face it, a master chef is only as good as their tools.
- Cooking Grates: Get one that fits over your fire pit. It gives you a stable cooking surface and is easy to clean.
- Cast Iron Skillets or Dutch Ovens: These babies retain heat like a champ and cook your food evenly.
- Long-Handled Utensils: You don’t want to get too close to the fire. Safety first, folks!
- Food Thermometer: Non-negotiable. You need to know your food is cooked to a safe temperature.
- Aluminum Foil: Great for wrapping veggies or fish and can be used multiple times.
Learn more for campfire safety
Cooking Techniques and Safety
You’re all set up and ready to get cookin’. But hold on! There are some nitty-gritty details you should know to keep your food not just tasty, but also safe to eat.
Direct and Indirect Cooking Methods
Two primary methods here, folks: Direct and Indirect.
Direct Cooking:
- The food is placed directly over the flame or coals.
- Great for things that cook quickly like burgers and hot dogs.
- Keep a close eye to prevent burning or charring, which isn’t just unappetizing but can also produce harmful chemicals.
Indirect Cooking:
- The food is placed away from the direct heat source.
- Ideal for slow-cooking items like ribs or larger cuts of meat.
- Less risk of undercooking the inside while the outside burns to a crisp.
Cooking to the Right Temperature
We’re not cooking with your grandma’s stovetop here, so temperatures can vary wildly. That’s where your trusty food thermometer comes in.
- Chicken and Turkey: Safe internal temp is 165°F (74°C).
- Pork, Veal, and Lamb: You’re aiming for 145°F (63°C).
- Ground Meat: Hit at least 160°F (71°C) to kill off those pesky bacteria.
- Fish: A good internal temp is 145°F (63°C).
And remember, don’t just eyeball it! Bacteria don’t care if your meat “looks done.” Always double-check with a thermometer.
Know more: The Role of Fire Bans
Post-Cooking Food Handling
Congrats, you’ve mastered the art of campfire cooking! But wait, we’re not done yet. How you handle your food after cooking is just as crucial as what you do before and during. So, let’s dive into the afterparty of campfire cuisine!
Storing Leftovers
Ah, the glory of leftovers. They can be a lifesaver for tomorrow’s lunch, but only if stored correctly.
- Cool Promptly: Don’t let food sit out for more than two hours—or one hour if it’s super hot outside.
- Sealable Containers: Store leftovers in airtight containers to keep the bugs and air out.
- Ice Packs: If you’re not heading home soon, use ice packs to keep the food chilled until you can get it into a fridge.
- Label and Date: Might seem overkill, but trust me, you’ll appreciate knowing how old that chili is on day three.
Cleaning Up
Mother Nature was kind enough to host your meal; the least you can do is clean up.
- Scrape Off Leftovers: Do this away from your campsite. You don’t want to attract unwanted wildlife.
- Hot Water and Soap: Clean all your utensils and cookware thoroughly.
- Disposal: Have biodegradable soap? Great! If not, dispose of your wash water at least 200 feet from lakes or streams.
Common Mistakes and How to Avoid Them
Mistakes happen, especially when you’re dealing with the wild variables of outdoor cooking. Let’s tackle some of the common ones.
- Skipping Prep Time: Prepping your meals can save you time and stress later. Don’t skip it.
- Ignoring Wind Direction: A sudden gust can turn your perfect cooking fire into a dangerous situation. Always consider wind direction.
- Overpacking: Too much food can be as problematic as too little. Plan your meals and pack smart.
- Relying on Visual Cues: Don’t judge meat by its color. Always use a food thermometer to ensure it’s safe to eat.
Conclusion
Alright, we’ve covered a lot of ground here—from picking the perfect spot and packing your food to cooking and cleaning up. Remember, the key to an unforgettable camping culinary experience is food safety. It can make or break your trip, so always prioritize it.
So, go on! Unleash your inner outdoor chef, and let’s make your next camping trip not just fun but deliciously safe too! Cheers to many more outdoor adventures and campfire feasts to come! 🍻